Replacing Your Alarm Control Battery
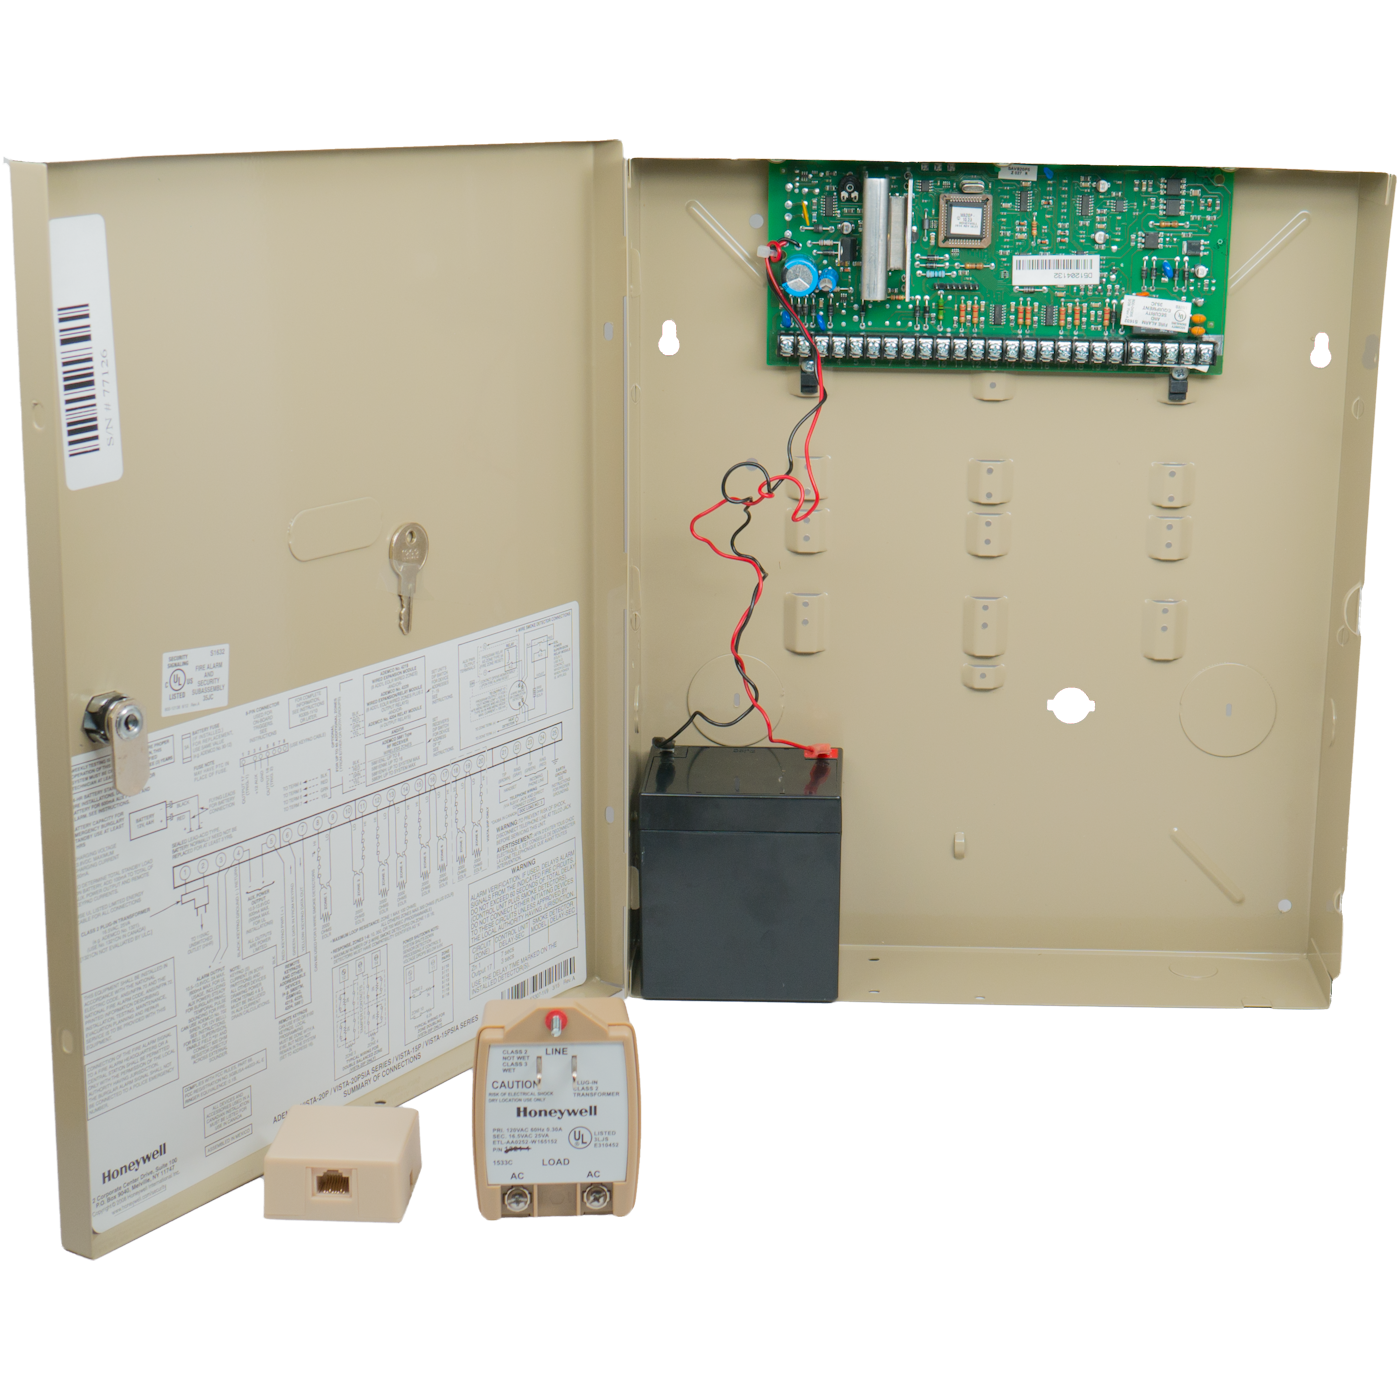
While not all alarm panels look like the picture below, the battery replacement instructions are pretty much the same. Open the alarm panel and you will see the battery located on the bottom of the enclosure.
Removing the old battery:
- Remove the RED wire from the RED terminal. You may need to wiggle the terminal it to remove it from the battery.
- Remove the BLACK wire from the BLACK terminal.
If there is acid or corrosion on the battery terminal or battery connector, a replacement battery connector might be necessary. (not common)
Installing the new battery. If you connect the battery backwards, you could blow the fuse or destroy the alarm panel.
- Connect the RED wire to the RED terminal.
- Before connecting the BLACK wire to the battery, check once more to ensure that you connected the RED wire to the RED terminal.
- When you’re SURE that RED is connected to RED, connect the BLACK wire to the BLACK terminal.
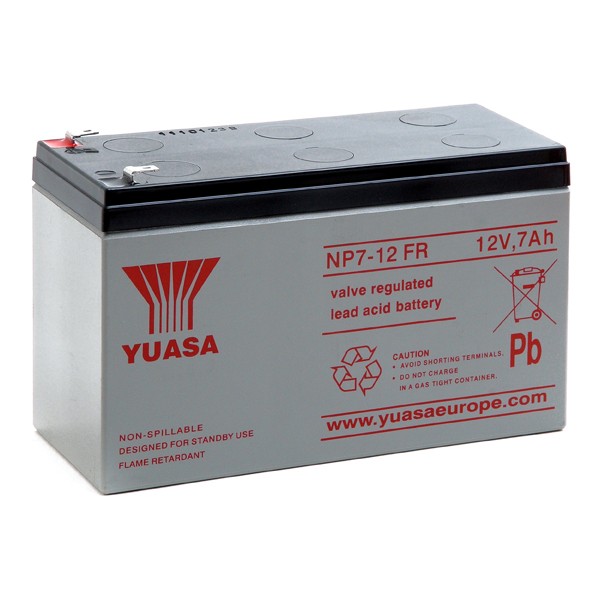
The battery in this picture is a 12 volt 4 amp hour battery (12V4AH), but 12 volt 7 amp hour batteries (12V7AH) are also common (bottom picture). The 12V7AH battery will keep your alarm system operational longer if there is an extended power outage. If there is room, it would be ok to upgrade to the bigger battery.
When reconnecting to the new battery, the battery connectors should fit snugly on the battery terminals. If they are loose, remove the connector from the battery and squeeze the connector (gently!) with a pair of pliers and reconnect. You will be squeezing the plastic insulator of the connector which will in turn squeeze the part that makes contact with the battery. If you squeeze it too tightly, you will not be able to reconnect it to the battery.
Alarm control panel with a 12V4AH battery

The 12V7AH battery is shown below


